
First, buy cherries. If you can find fresh or frozen sour cherries, that's awesome. My mom made cherry pie with good Michigan sour cherries and it was heaven. But here on the west coast, sour cherries are hard to find, so I went with good dark Bing cherries. I got them home and tied on an apron. Pie time! (sorry, mom. not the politest of aprons)

But I'm getting ahead of myself. First, I made the crust, because my crusts like to sit in the refrigerator for a while, both before and after rolling them out. Here's my recipe--Sort of. I base mine on a ratio instead of actual measurements---2 parts flour, 1 part good, high butterfat butter, some salt, some sugar, and enough water to bring the mixture together. This varies by day, depending on humidity as much as anything else.
I was making enough crust for three pies, so I used 2 pounds of flour, 1 pound of COLD cubed butter, a large handful of sugar, and a palmful of salt. I know the last two aren't so specific, but they work for me. When making crust I almost always make a lot. It freezes forever, and it's nice to have crust on hand for a last minute dessert, quiche, or tart.


So, I combined the dry ingredients, then put the pieces of butter into the bowl. I cut the butter into the dry mixture with a bench scraper at first, then use my hands (the best tool on earth) to finish combining them. I start with the bench scraper (you can also use forks, knives, or a pastry cutter) to keep the butter cool for as long as possible. I worked the butter into the flour until the pieces of butter ranged between pea and walnut sized. It won't be evenly mixed at all but those chunks of butter are important to achieve a flaky crust.


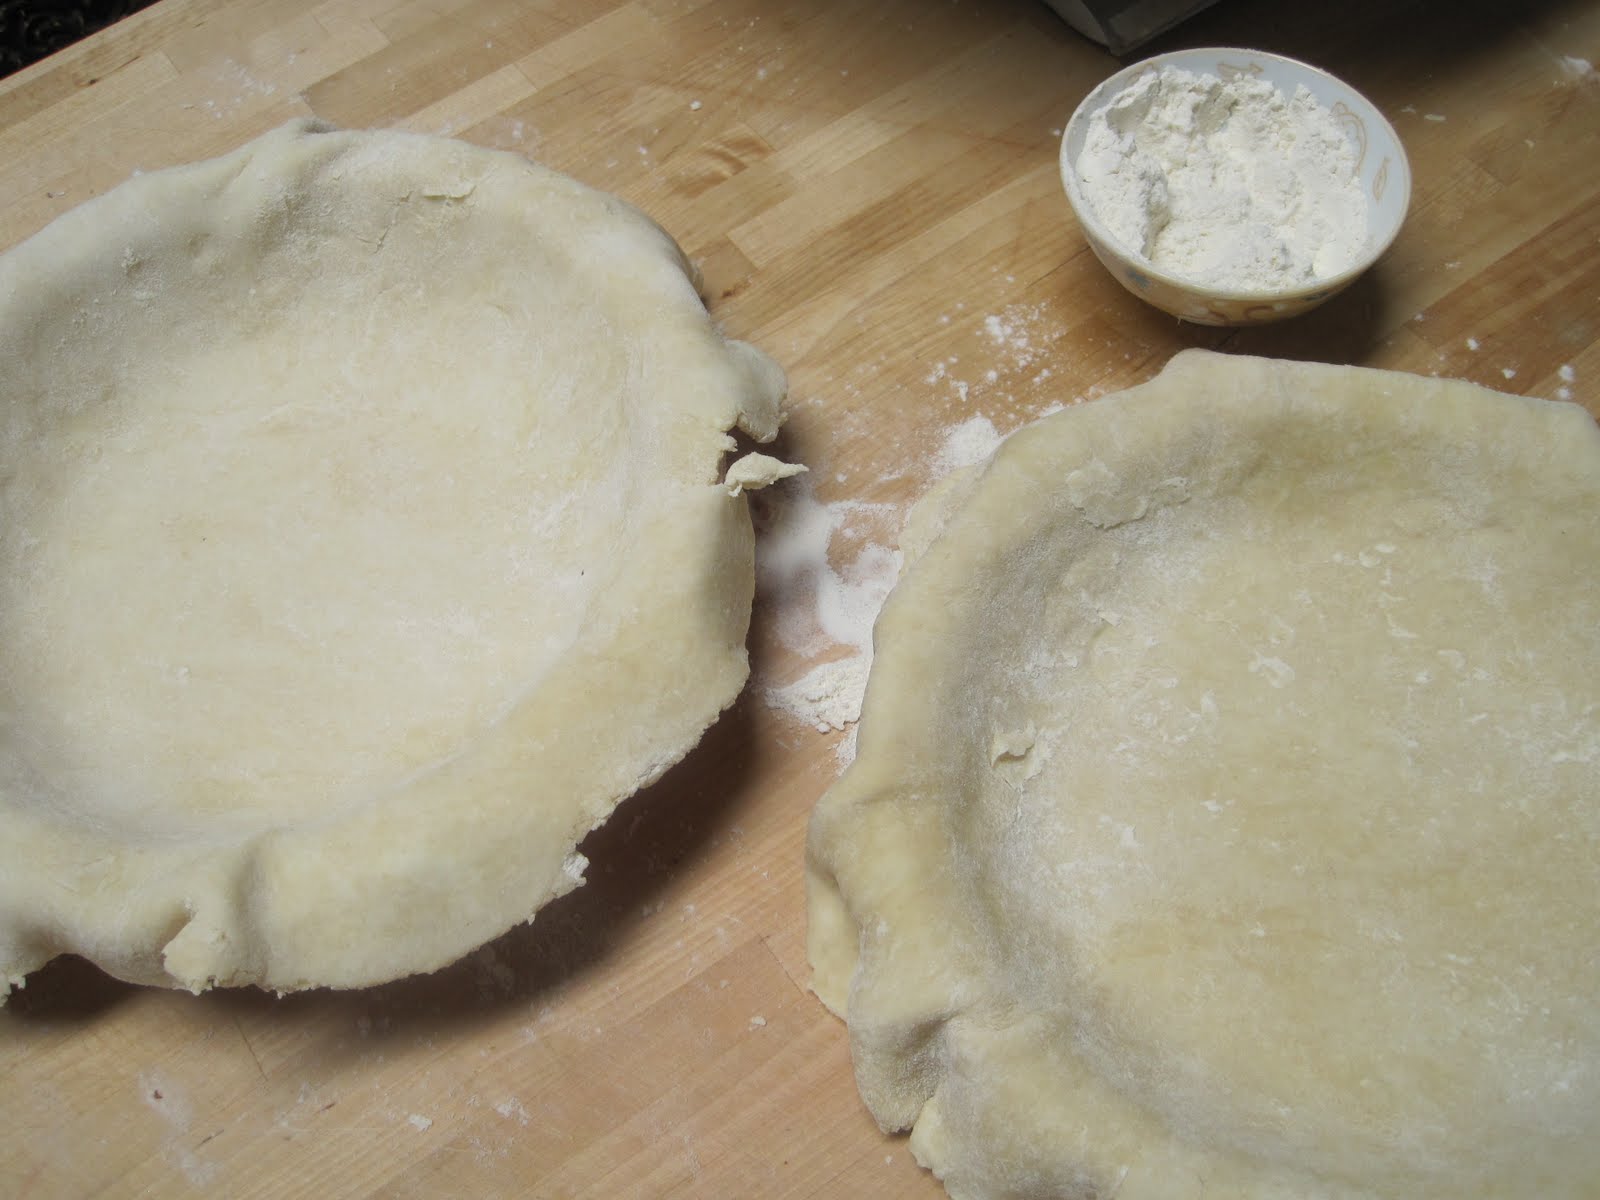
Once the pastry is combined that much (see the picture above right), it is time to add icy cold water to the mixture. I never actually add ice, as the ice chips melt in the baking process and sometimes leave bald spots in the crust where they were, but i use very cold water. It helps to keep the butter from melting, which, once again, makes for that flaky crust. Once the crust has come together in a sort of shaggy lump (you want it to feel a little dry) divide it up and chill it in the refrigerator for at least an hour.


While the dough is refrigerating, you have the perfect time to start the filling. In the filling, I use:
5 cups pitted cherries (about 2 pounds of whole, unpitted cherries)
1/2 cup brown sugar
1/2 cup white sugar
3 1/2 tablespoons cornstarch
3 tablespoons lemon juice (for Bing cherries) or 1 teaspoon lemon juice (for sour cherries)
1 teaspoon almond extract
zest of 1 orange
zest of 1 lemon
With fresh cherries, the bulk of the work on the filling is pitting the cherries. there are a few different kinds of cherry pitters on the market. I use a pretty basic one. I was making 2 pies, and it took about 30 minutes to pit the cherries, 1 at a time. I'm pretty sure I put something trashy on tv while doing the pitting. For me, bad tv makes tasks like pitting cherries and folding laundry (the bane of my existence) go a little faster.


With the cherries all pitted, i threw all the other ingredients for the filling into the bowl with the cherries. Sometimes I use some nutmeg or cinnamon in the pie but the cherries were so good and fresh this time around that i decided not to. Spices can be overpowering.


With everything in the bowl, all I had to do to finish the filling was toss everything together. Uncooked, it looks a little milky because of the cornstarch, but even raw it tastes SO good.


Once the pans were filled, I stashed them in the freezer for about 15 minutes, then added the filling and went to work on the lattice top. I'm a big fan of lattice topped pies. I think they're pretty, especially when the filling bubbles over the lattice, and have a nice, homey look. But like with any pie, a regular closed top works too.
My mom taught me how to weave a lattice top really young, and the way she taught me has stuck with me. I learned different techniques to make a lattice in different places but I'm pretty sure this is the easiest, prettiest way. To make it look more intricate, use thinner strips. to make it easy on yourself, use big thick ones.

Step one- Cut the strips. Now obviously, they weren't perfectly straight. You can cut along a ruler to get perfectly straight strips, but I love the homey look of slightly uneven strips. I try to make sure that the strips are all long enough to go across the pie.

Step 2- lay the two longest strips across the pie, one on top of another. You can do this perfectly perpendicular or on any kind of angle, depending on what shape you want the openings to be. Doing it on a slight diagonal is super pretty.

Step 3 through however many strips you have. Weave. I think just about everyone I know had to do some sort of weaving project in elementary school. You know, you alternate strips going over and under. The trick with the pie crust is handling it gently, folding back the strips that are going over instead of trying to tuck the strips under. it just works better.


Once you have all the weaving done, you trim the edges. I leave about 3/4 of an inch of overhang on the bottom crust, less on the top, and fold the bottom layer over the messier lattice edges to make a neat crust. In this case I did a traditional epi edge (French for wheat stalk). It isn't something you see a whole ton in this country, but I think it's pretty so I went there. Plus, It gives me little burnt end bits which I love.

Once my pies were all assembled, I refrigerated them for about an hour. Ok, lets be real. I stuck them in the freezer for about an hour. I am not a patient person. I baked the pie at 425 for about 15 minutes, then lowered the oven temperature to 350 and baked for about an hour.


Perfect--Hot pie with vanilla Ice cream.
Zomg, you tots need to make this for Luke, he'll collapse in a puddle of joy and pie!
ReplyDeletePie-gasm! I gotta try this.
ReplyDeleteDamn you! Now I'm hungry!
ReplyDelete